By Thrive Family Dentistry of Auburn | September 24, 2024
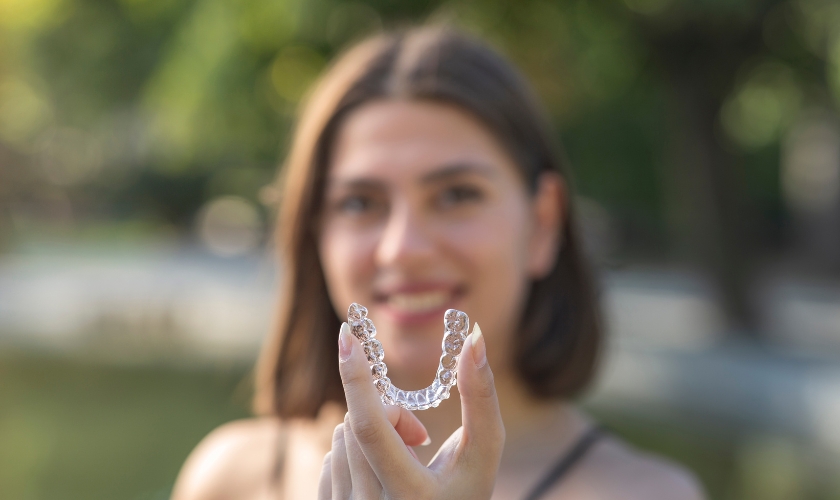
Clear aligners have gained immense popularity as a discreet and comfortable alternative to traditional braces. Many prefer them due to their nearly invisible appearance and the ability to remove them for eating and cleaning.
Understanding the different clear aligner treatment phases is crucial for anyone considering this option. Each phase helps ensure that the treatment is effective and tailored to individual needs. Knowing what to expect at each step can make the process more manageable.
What Are Clear Aligners?
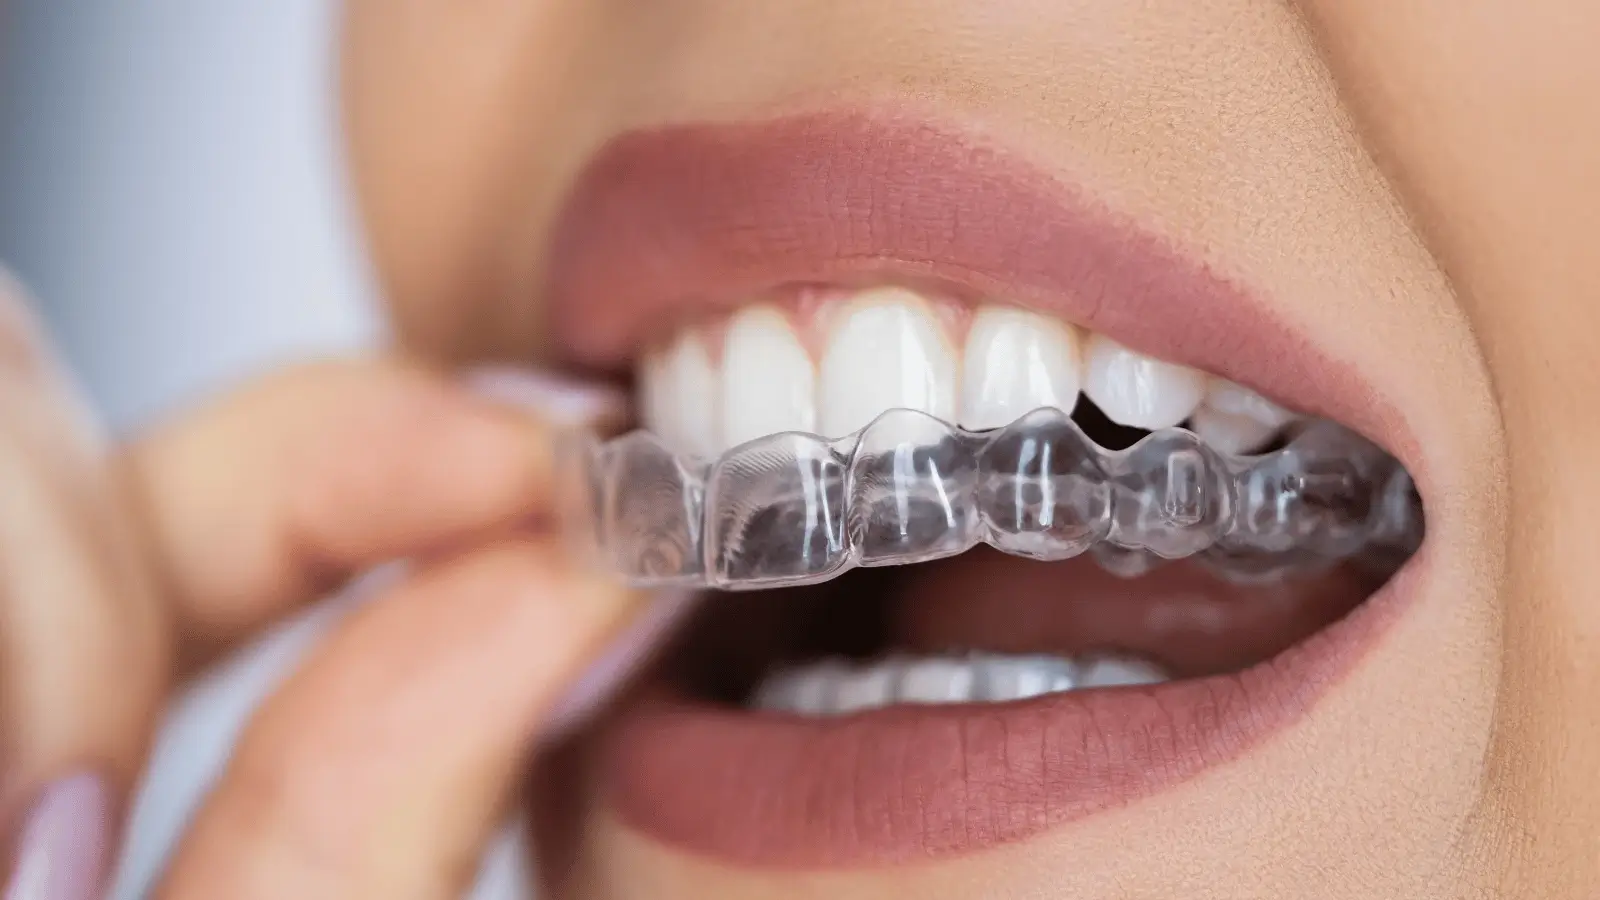
Clear aligners are custom-made, transparent trays designed to straighten teeth. Unlike traditional braces, which use metal brackets and wires, clear aligners apply gentle pressure to shift teeth into their desired positions. Patients wear a series of aligners, typically changing them every one to two weeks.
The process starts with a thorough assessment by an orthodontist. They will take digital scans or impressions of your teeth to create a 3D model. This model helps design a personalized treatment plan.
Clear aligners offer several benefits compared to traditional braces. First, they are nearly invisible, making them popular for adults and teens who want a more discreet treatment option. Second, they are removable, allowing for easier cleaning and no dietary restrictions. You can enjoy your favorite foods without worrying about damaging brackets or wires.
However, clear aligners do require discipline. Patients must wear them for 20 to 22 hours a day for effective results. Regular check-ups with an orthodontist ensure the treatment stays on track. While both methods effectively straighten teeth, clear aligners offer a more flexible and aesthetically pleasing approach.
Different Phases of Clear Aligners Treatment
The different phases of clear aligners’ treatment are stated below.
Phase 1: Initial Consultation
The journey begins with an initial consultation. During this visit, the orthodontist will evaluate your teeth and bite, perform necessary dental assessments, and take imaging to understand your specific needs. This assessment is vital for developing an effective treatment plan.
You will also discuss your treatment goals with the orthodontist. Clear aligners can often meet your needs whether you seek minor adjustments or significant changes. Understanding your expectations helps the orthodontist create a plan tailored to you.
Phase 2: Treatment Planning
After the initial consultation, the orthodontist will create a personalized treatment plan. They will use dental assessments and imaging to design a 3D model of your teeth. This model allows you to see a simulation of how your teeth will move throughout the treatment.
The orthodontist will explain the series of aligners you will receive and the overall timeline for your treatment. Knowing what to expect helps set realistic expectations and keeps you committed.
Phase 3: Fitting the First Aligners
Once your treatment plan is ready, you will receive your first set of aligners. The orthodontist will ensure that the aligners fit properly and make any necessary adjustments. Proper fit is crucial for effective treatment, as misaligned aligners can hinder progress.
You will learn to care for and change your aligners at home. This fitting phase sets the stage for the active treatment to begin.
Phase 4: Active Treatment
During the active treatment phase, you will wear the aligners as prescribed. Typically, you will switch to a new set of aligners every one to two weeks. Depending on your treatment goals, this phase often lasts several months to over a year.
Regular check-ins with the orthodontist are essential during this phase. These appointments allow the orthodontist to monitor your progress and make any adjustments if necessary. Adhering to the recommended wear schedule is vital to achieve the desired results.
Phase 5: Monitoring Progress
Monitoring your progress is crucial for successful treatment. The orthodontist will track how your teeth shift and may adjust your aligners. These adjustments can enhance effectiveness and ensure your teeth are moving as planned.
As a patient, you have responsibilities during this phase. It is important to maintain oral hygiene and clean your aligners regularly. Any discomfort should also be reported to your orthodontist so that potential issues can be addressed early.
Phase 6: Completion and Retainers
Once you complete your active treatment, your orthodontist will assess the results. If your teeth have moved into the desired positions, it is time to transition to retainers. Retainers help maintain your new smile and prevent teeth from shifting back.
Wearing retainers is crucial for long-term success. Your orthodontist will provide guidelines on how long to wear them, usually full-time initially and then part-time after a few months.

Common Questions and Concerns
Many people have questions about clear aligners. One common concern is how long the treatment takes. Treatment duration varies but generally ranges from six months to two years. Factors like the severity of misalignment and patient compliance affect this timeline.
Another concern is discomfort. It is normal to feel some pressure when switching to a new aligner. Over-the-counter pain relievers can help manage discomfort. Maintaining oral hygiene is also crucial. Brush your teeth and aligners regularly to prevent plaque buildup.
Many wonder if clear aligners can treat complex cases. While they effectively address many alignment issues, severe cases may require traditional braces. Consulting with an orthodontist can clarify your options.
Finally, cost is a common question. Clear aligners can be more expensive than traditional braces, but many find the benefits worth the investment. Check with your dental insurance for coverage options.
Understanding the clear aligner treatment phases can empower you to take control of your orthodontic journey. Each phase plays a vital role in achieving a healthy and beautiful smile. If you are considering clear aligners, consult an orthodontist to see if they are the right choice. Your path to a straighter smile is just a few phases away!